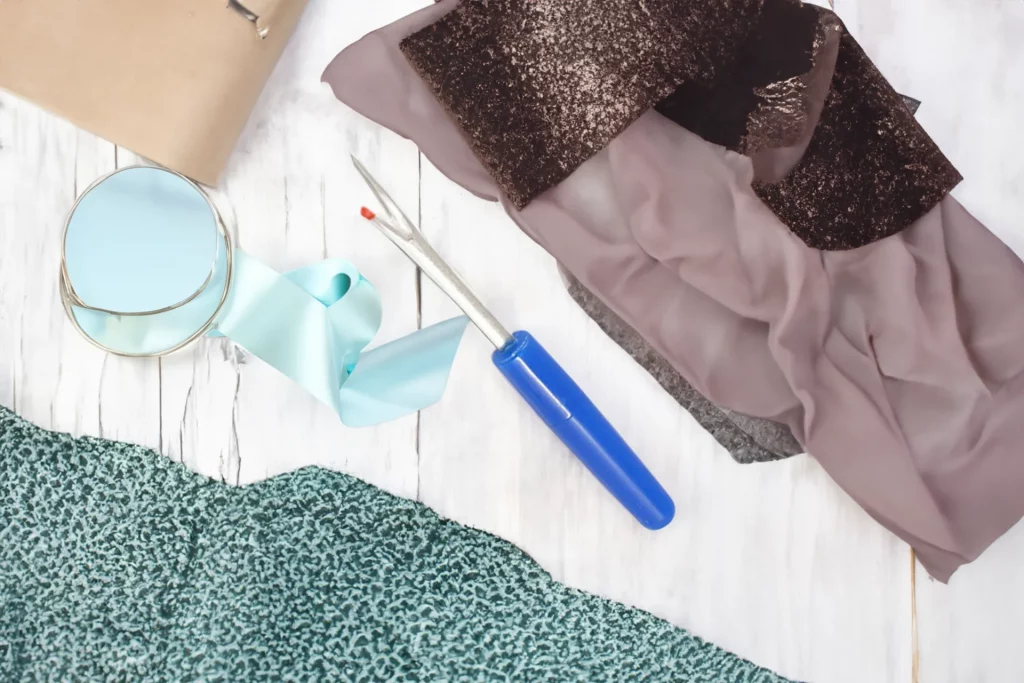
In the world of sewing and garment construction, mistakes happen, and sometimes seams need to be undone. Seamstresses rely on a versatile tool called the seam ripper to rectify errors, remove stitches and salvage their projects. The seam ripper is an essential companion, providing precision and efficiency in unpicking seams without damaging the fabric. In this comprehensive guide, we will explore the purpose, features and techniques of using a seam ripper, empowering you to correct mistakes with ease and confidence.

The Seam Ripper: Your Trusty Companion for Unpicking Seams
Defining the Seam Ripper
The seam ripper is a small handheld tool specifically designed for removing stitches and unpicking seams. It features a handle, a pointed tip, and a sharp blade or hook that carefully cuts or lifts stitches.
The Role of the Seam Ripper
- Seam Correction: The primary purpose of the seam ripper is to correct sewing mistakes by removing unwanted stitches.
- Precision: Its sharp and precise tip allows for controlled removal of individual stitches without damaging the fabric.
Anatomy of a Seam Ripper:
- Handle:
The handle of a seam ripper is typically made of plastic or metal and provides a comfortable grip for easy maneuvering. It may have a textured surface or ergonomic design to ensure a secure hold during use.
- Pointed Tip:
The pointed tip of the seam ripper is used to slide under stitches, lifting them for removal. It is slim and sharp to access tight spaces and maintain control while working.
- Blade or Hook:
Seam rippers come in different designs, featuring either a sharp blade or a hooked blade. The blade is used to cut stitches, while the hook is employed to grab and lift stitches for removal.
Using the Seam Ripper
- Identifying Stitches to Remove:
- Carefully examine the seam and identify the stitches that need to be removed.
- Locate the anchor stitches at one end of the seam and start there for easier unpicking.
- Lifting Stitches:
- With the seam ripper’s pointed tip, gently slide it under the stitches to lift them.
- Apply minimal pressure to avoid damaging the fabric.
- Cutting Stitches:
- Once the stitches are lifted, use the seam ripper’s blade or hook to cut the threads.
- Take care not to cut the fabric accidentally; focus on cutting only the stitches.
- Removing Cut Threads:
- After cutting the stitches, use your fingers or tweezers to remove the loose threads from the fabric.
- Dispose of the cut threads to maintain a clean work area.
Seam Ripper Tips and Considerations
- Practice on Scrap Fabric:
- If you’re new to using a seam ripper, practice on scrap fabric to develop skill and precision before working on your project.
- Light and Controlled Pressure:
- Apply light and controlled pressure when using the seam ripper to avoid damaging the fabric.
- Take your time and work methodically to ensure accurate stitch removal.
- Maintaining the Seam Ripper:
- Keep the seam ripper clean and free of residue by wiping it with a lint-free cloth after each use.
- Store it in a safe place away from children’s reach.
Conclusion
The seam ripper is a seamstresses trusted companion for rectifying mistakes and removing unwanted stitches. With its precision and sharp tip, it allows for controlled and efficient seam removal without damaging the fabric. By understanding its anatomy and practicing proper techniques, you can confidently navigate through sewing errors and salvage your projects. Remember to approach stitch removal with care, applying light pressure and working methodically. With the seam ripper by your side, you can unravel mistakes and achieve impeccable sewing results.


