For a seamstress, achieving balanced and even stitches is crucial for creating high-quality garments and projects. Thread tension plays a significant role in stitch formation and understanding how to adjust it properly is essential. In this article, we will explore thread tension from the perspective of a seamstress, including its control points, adjusting techniques and troubleshooting tips. By mastering thread tension, you’ll be able to achieve flawless stitches with ease.
Controlling Thread Tension
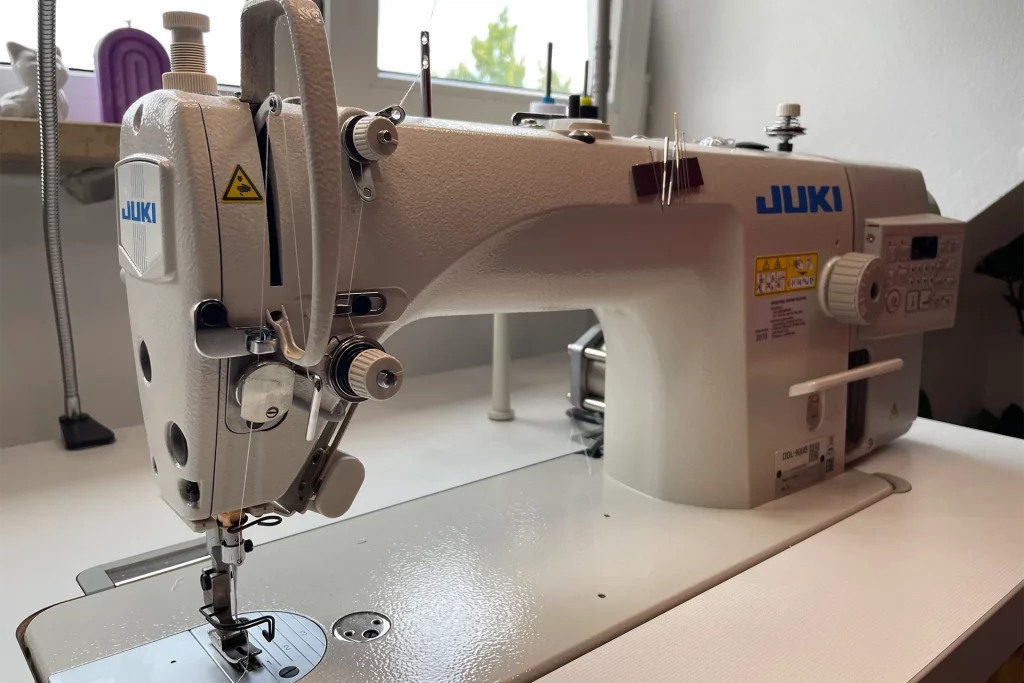
Top Thread Tension:
The top thread tension is regulated by the tension discs, typically located at the top of your sewing machine. It can be easily adjusted using a dial or tension control knob. This adjustment is necessary for different sewing techniques, such as buttonholes, and when working with fabrics of varying thicknesses.
Bobbin Thread Tension
The bobbin thread tension is controlled by a small screw on the bobbin case. While it is rarely necessary to adjust the bobbin tension for regular all-purpose sewing threads, it becomes crucial when using thicker or thinner threads in the bobbin. Over time, the screw may tighten or loosen itself, requiring adjustment.
Adjusting Thread Tension
Top Thread Tension Adjustment:
- Dial or Knob: Use the tension control dial or knob on your sewing machine to adjust the top thread tension.
- Thicker Fabrics: Increase the tension slightly for thicker fabrics to ensure proper thread tension and stitch formation.
- Thinner Fabrics: Decrease the tension slightly for thinner fabrics to prevent puckering and thread breakage.
Bobbin Thread Tension Adjustment:
- Bobbin Case Screw: To adjust the bobbin thread tension, locate the small screw on the bobbin case.
- Clockwise and Counterclockwise: Treat the screw like a clock and make small adjustments, turning it 10 or 15 minutes at a time. Remember, “lefty loosy, righty tighty.”
- Testing the Tension: Load the bobbin into the case and let it dangle from the thread. It should slide down slowly when tugged or shaken. If it slides down too quickly, it’s too loose, and if it doesn’t budge, it’s too tight.
Troubleshooting Thread Tension Issues
Loose Stitches:
- Top Thread: Increase the top thread tension slightly.
- Bobbin Thread: Tighten the bobbin tension by turning the screw slightly clockwise.
Tight Stitches:
- Top Thread: Decrease the top thread tension slightly.
- Bobbin Thread: Loosen the bobbin tension by turning the screw slightly counterclockwise.
Testing and Fine-tuning
Always test the tension adjustments on scrap fabric before starting your project. Make small adjustments until the stitches appear balanced and even.
Conclusion
Mastering thread tension is a valuable skill for seamstresses. Understanding how to control and adjust both the top and bobbin thread tensions allows you to achieve flawless stitches in various fabric thicknesses and sewing techniques. Remember to make incremental adjustments, test on scrap fabric and troubleshoot any tension issues that arise. With practice, you’ll be able to confidently create beautiful and professional-looking stitches that enhance the quality and durability of your sewing projects.